Blocks
Blocks
Description
Blocks are content items that can be added to pages in several ways depending on your use case.
Block Types and Use Cases
| Block Type | Use Case |
|---|---|
| Basic Block | Create a custom block to: 1) Add to the sidebar of specific pages; or 2) Add a section of redundant content to the content area of more than one page. |
| Call to Action | Add one of six Call to Action sections below the content on multiple pages |
| Events and Lists | Add of three Events sections or one of three Lists sections below the content on multiple pages |
| Sidebar Blocks for Body 1 | Add one of the following to the sidebar of specific pages: Link List, Text List, Events, Events w/Images, Button |
Notable Differences in Blocks in KU CMS - Sunflower
- Sidebars are unique to specific pages (i.e., sidebars are not global)
- Blocks must be added manually to the sidebar of each specific page using the Body 1 – General Content section
- Blocks from other KU CMS sites cannot be included in content sections
- Call to Action and Events and Lists blocks can be added below the content on multiple pages or globally.
- Body content shared between multiple pages is done using the Basic Block and Body 1 - General Content > Insert Body Block
How To - Create and Place Blocks
Create a Block
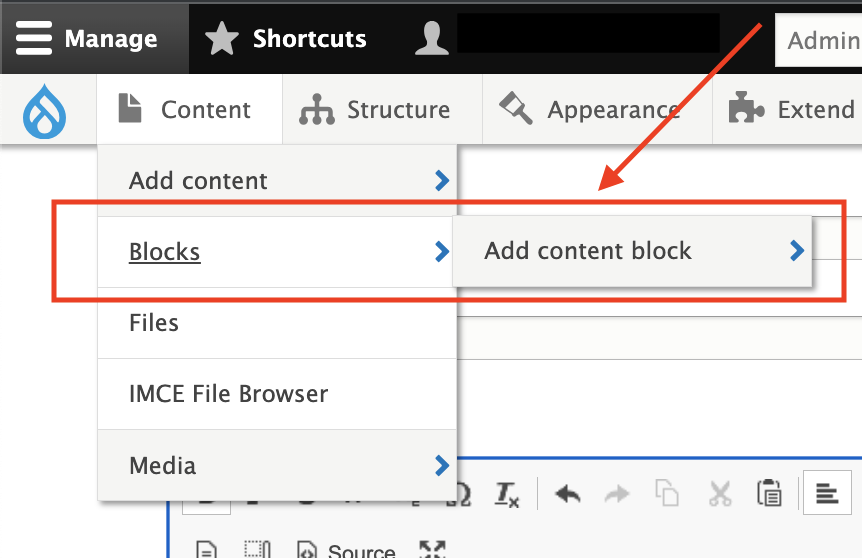
- Go to Content > Blocks > Add content block
View Screenshot - Select one of the following block types:
Basic Block
- Select Basic Block
- Add a Block Description – Give it an easily identifiable name
- Add content to Body field
- Change Save as to Published
- Save
- You must now Place the block in the correct region:
- Go to Structure > Block Layout
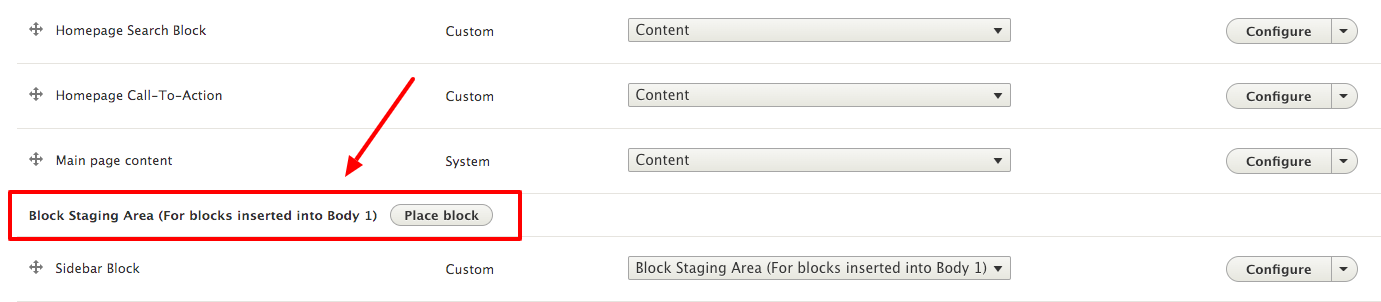
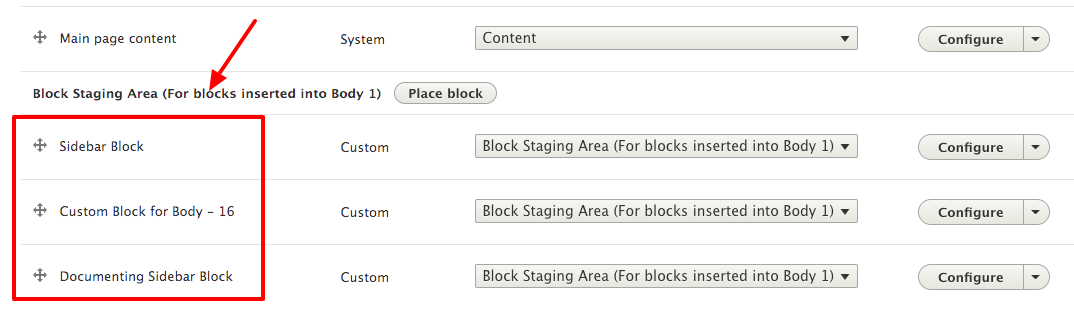
- Scroll down to locate the Block Staging Area (For blocks inserted into Body 1)
View ScreenshotLocate the Block Staging Area - Select Place block button
- Search or scroll to locate your block
- Select Place block button
- You are then taken to the Configuration page for your block
- Update block Title as needed
- Be cognizant of the way the Title field works. The Title is an H2 by default. If the content you are adding begins with an H2 header, great. But, if your content does not require a header class or needs a different header class, be sure to uncheck Display Title on your Basic Block configuration page (see How To - Configure Block below) to hide the default H2 Title.
- Check/Uncheck Display title to hide the block title
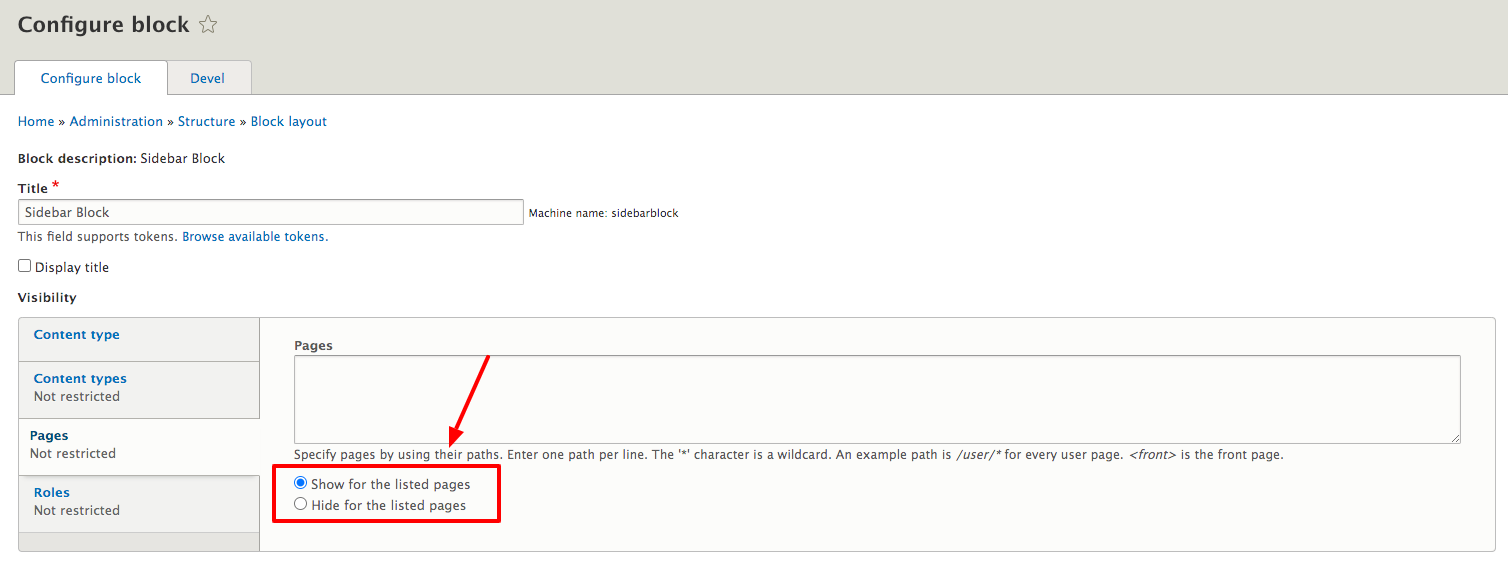
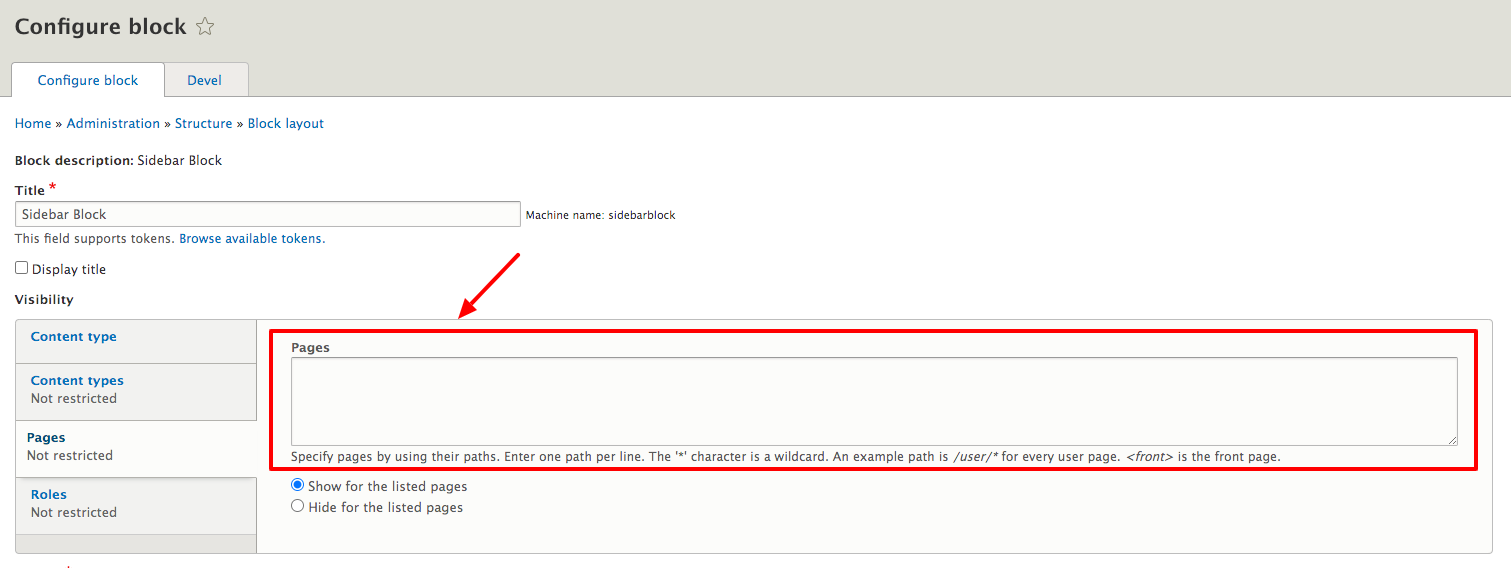
- To restrict the block to specific pages, select the Pages tab in the lower left
View ScreenshotRestrict the block to certain pages - Select either Show for the listed pages or Hide for the listed pages
View ScreenshotShow/Hide for the listed pages - In the Pages field, enter specific pages using their paths (e.g., about, research, financial-aid)
View ScreenshotEnter specific paths - Save block
- Your block is now findable and available for use via Body 1 - General Content > Add Section > Insert Body Block and Body 1 - General Content > Add Sidebar Item > Insert Block
- See How To - Edit Blocks below for instructions to edit blocks
Call to Action
*Required fields
- Select Call to Action
- Add a Block Description – Give it an easily identifiable name
- Select Add Paragraph button
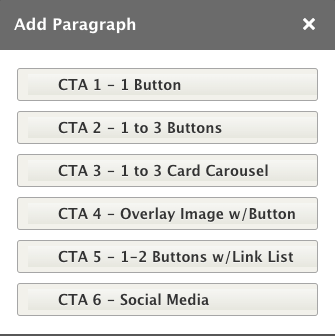
- Select one of six CTA options:
View ScreenshotSelect one of six CTA options- CTA 1 – 1 Button
- CTA 2 – 1 to 3 Buttons
- CTA 3 – 1 to 3 Card Carousel
- CTA 4 – Overlay Image w/Button
- CTA 5 – 1-2 Buttons w/Link List
- CTA 6 – Social Media
- Complete the fields and select any available Style Options
- Change Save as dropdown menu to Published
- Save
- You must now Place the block in the correct region:
- Go to Structure > Block Layout
- Scroll down to locate the Below Content region
- Select Place block button
- Search or scroll to locate your block
- Select Place block button
- You are then taken to the Configuration page for your block
- Update block Title as needed
- Check/Uncheck Display title to hide the block title
- To restrict the block to specific pages, select the Pages tab in the lower left
View ScreenshotRestrict the block to specific pages - Select either Show for the listed pages or Hide for the listed pages
View ScreenshotShow/Hide for the listed pages - In the Pages field, enter specific pages using their paths (e.g., about, research, financial-aid)
View ScreenshotEnter specific paths - Save block
- Your block should now be visible at the bottom of any/all pages you specified in Step 11.
- See How To - Edit Blocks below for instructions to edit blocks
Events and Lists
- Select Sidebar Blocks for Body 1
- Add a Block Description – Give it an easily identifiable name
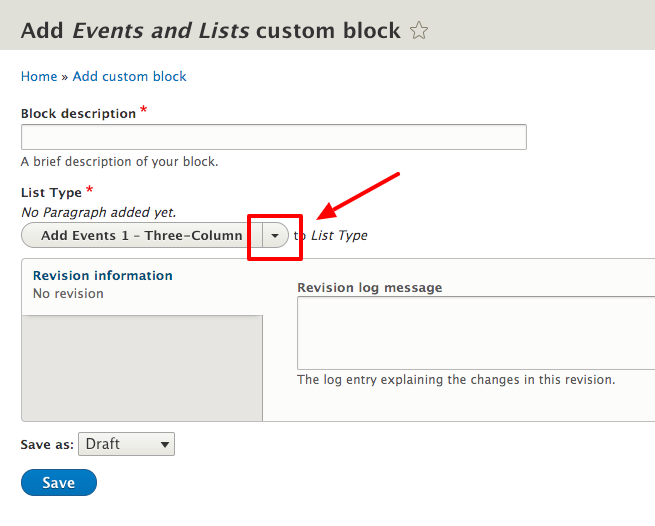
- In List Type, select the down-arrow to the right of Add Events 1 – Three-Columns
View ScreenshotSelect down-arrow to right of Events 1 - Three Columns
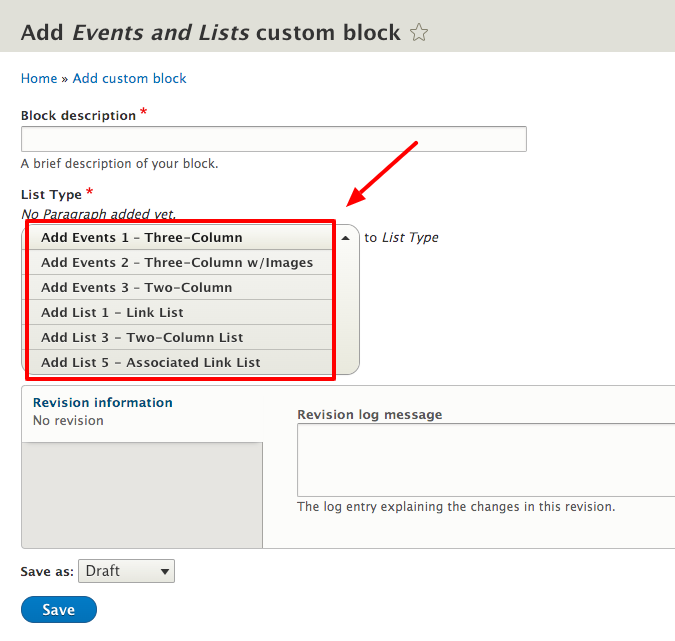
and select one of the following section options from the dropdown menu:
View ScreenshotSelect section option - Complete the fields
- Change the Save as state to Published
- Save
- You must now Place the block in the correct region:
- Go to Structure > Block Layout
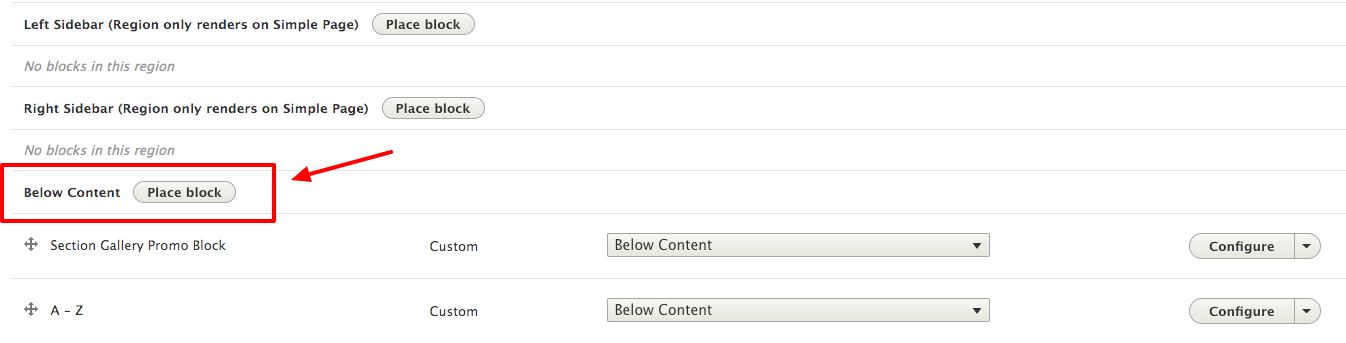
- Scroll down to locate the Below Content region
View ScreenshotLocate Below Content region - Select Place block button
- Search or scroll to locate your block
- Select Place block button
- You are then taken to the Configuration page for your block
- Update block Title as needed
- Check/Uncheck Display title to hide the block title
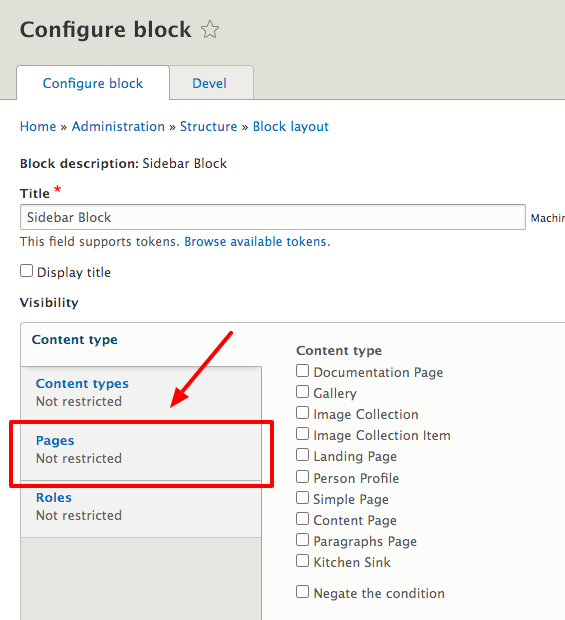
- To restrict the block to specific pages, select the Pages tab in the lower left
View ScreenshotRestrict block to specific pages - Select either Show for the listed pages or Hide for the listed pages
View ScreenshotShow/Hide for listed pages - In the Pages field, enter specific pages using their paths (e.g., about, research, financial-aid)
View ScreenshotEnter specific paths - Save block
- Your block should now be visible at the bottom of any/all pages you specified in Step 11.
- See How To - Edit Blocks below for instructions to edit blocks
Sidebar Blocks for Body 1
*Required fields
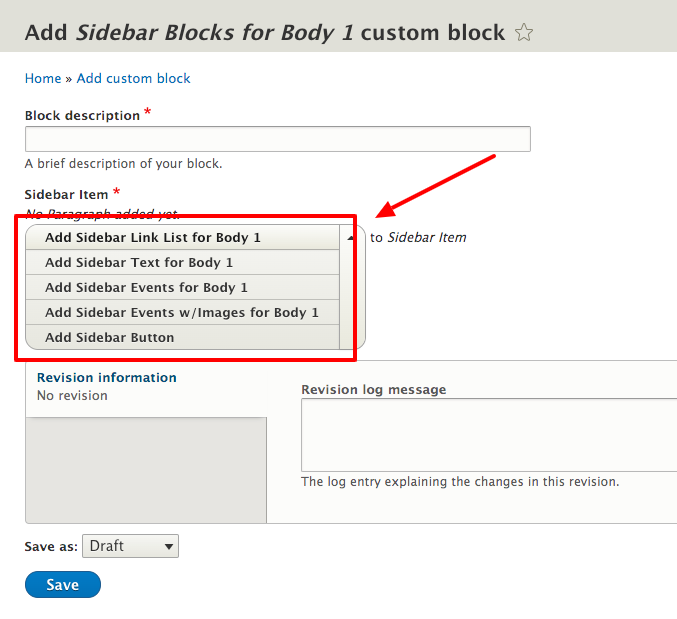
- Select Sidebar Blocks for Body 1
- Add a Block Description – Give it an easily identifiable name
- In Sidebar Item* select the down-arrow to the right of Add Sidebar Link List for Body 1
View ScreenshotSelect down-arrow to right of Add Sidebar Link List for Body 1
and select one of the following section options from the dropdown menu:
View ScreenshotSelect section options- Add Sidebar Link List for Body 1
- Add Sidebar Text List for Body 1
- Add Sidebar Events for Body 1
- Add Sidebar Events w/Images for Body 1
- Add Sidebar Button
- Complete the fields and select any available Style Options
- Change the Save as state to Published
- Save
- You must now Place the block in the correct region:
- Go to Structure > Block Layout
- Scroll down to locate the Block Staging Area (For blocks inserted into Body 1)
- Select Place block button
- Search or scroll to locate your block
- Select Place block button
- You are then taken to the Configuration page for your block
- Update block Title as needed
- Check/Uncheck Display title to hide the block title
- To restrict the block to specific pages, select the Pages tab in the lower left
View ScreenshotRestrict blocks to specific pages - Select either Show for the listed pages or Hide for the listed pages
View ScreenshotShow/Hide for listed pages - In the Pages field, enter specific pages using their paths (e.g., about, research, financial-aid)
View ScreenshotEnter specific paths - Save block
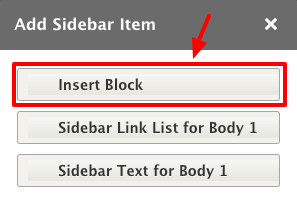
- Your block is now findable and available for use via Body 1 - General Content > Add Sidebar Item > Insert Block
View ScreenshotSelect appropriate option- Go to Body 1 - General Content > Add Sidebar Item > Insert Block, then enter the name of your block and Save.
- See How To - Edit Blocks below for instructions to edit blocks
How To - Edit Blocks
Option 1
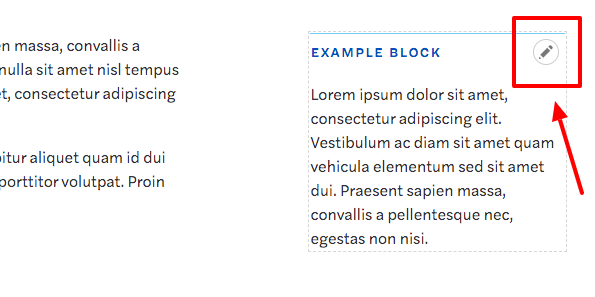
- While logged in, locate the block in use on a page
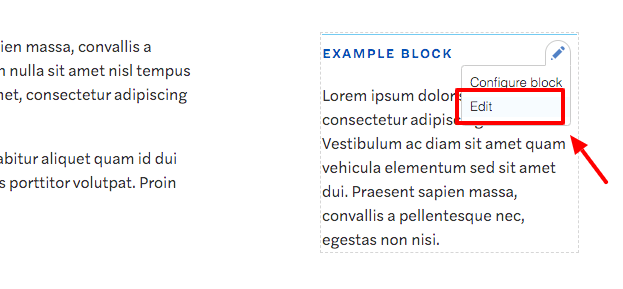
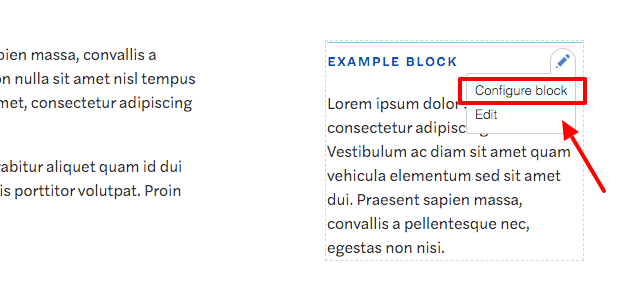
- Hover over the block content to activate the Edit Icon and dotted border
View ScreenshotHover to see Edit Icon and border - Select Edit Icon
View ScreenshotSelect Edit Icon - Select Edit
View ScreenshotSelect Edit - Make changes to Title and/or Content
- Save
Option 2
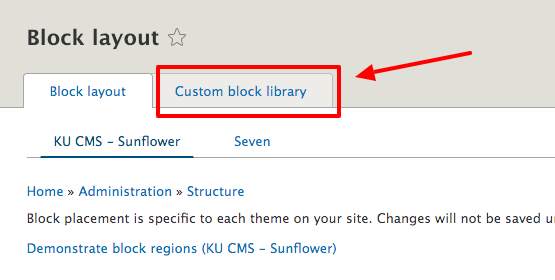
- Go to Structure > Block Layout > Custom block library
View ScreenshotLocate Custom Block Library tab - To open in edit mode:
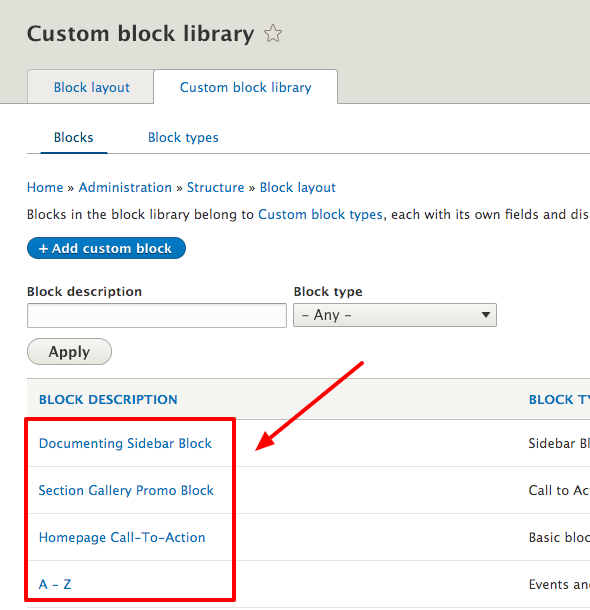
- Locate the specific block title in the Block Description column
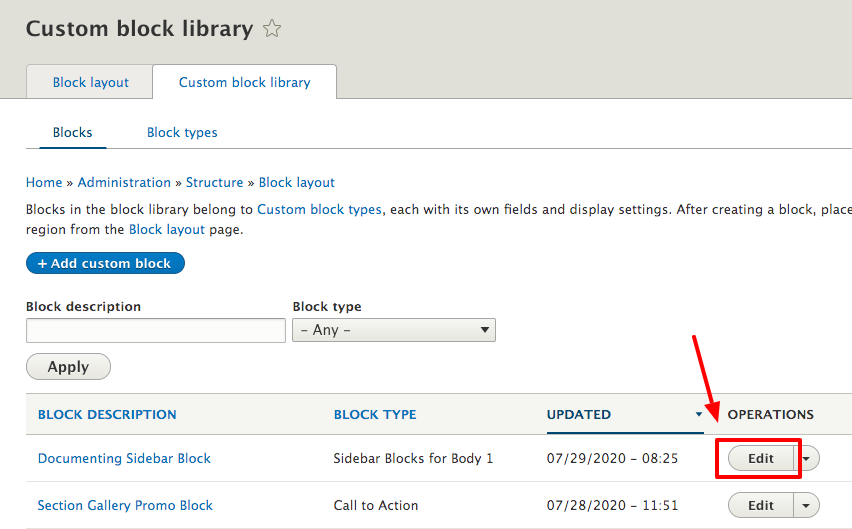
View ScreenshotLocate the specific block - Select Edit from the Operations column on the right
View ScreenshotSelect Edit from the Operations column
- Locate the specific block title in the Block Description column
- Make changes to Title and/or Content
- Save
How To - Configure Blocks
Option 1
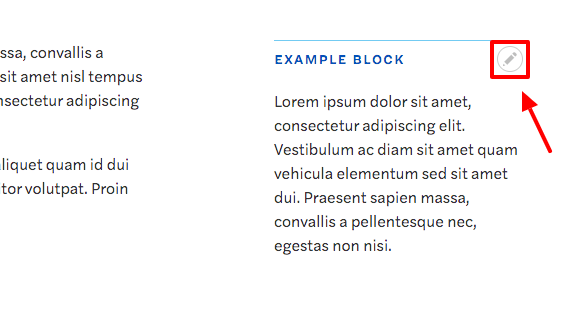
- While logged in, locate the block in use on a page
- Hover over the block content to activate the Edit Icon and dotted border
View ScreenshotHover to see the Edit Icon and border - Select Edit Icon
View ScreenshotSelect the Edit Icon - Select Configure block
View ScreenshotSelect Configure block - Update the Title as needed
- Check/Uncheck Display title to hide the block title
- To restrict the block to specific pages, select the Pages tab in the lower left
View ScreenshotRestrict the block to specific pages - Select either Show for the listed pages or Hide for the listed pages
View ScreenshotShow/hide for listed pages - Enter specific pages using their paths (e.g., about, research, financial-aid)
View ScreenshotEnter specific paths - Save
Option 2
- Go to Structure > Block Layout
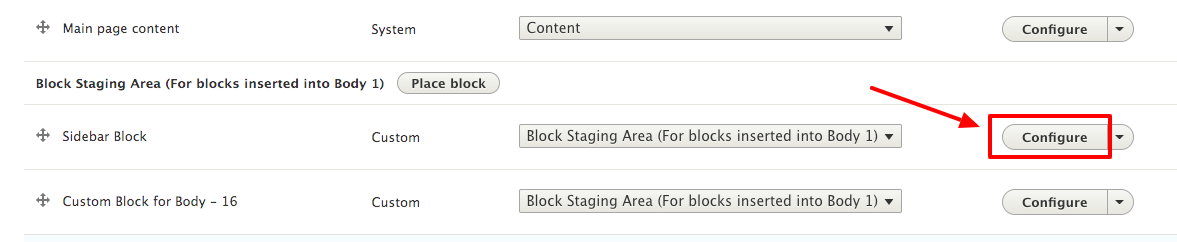
- Scroll down to locate your block in the correct region
View ScreenshotLocate the specific block - Select the Configure button from the Operations column on the right
View ScreenshotSelect Configure button - Update the Title as needed
- Check/Uncheck Display title to hide the block title
- To restrict the block to specific pages, select the Pages tab in the lower left
View ScreenshotRestrict the block to specific pages - Select either Show for the listed pages or Hide for the listed pages
View ScreenshotShow/hide for listed pages - Enter specific pages using their paths (e.g., about, research, financial-aid)
View ScreenshotEnter specific paths - Save
Including Blocks in Content Section
Note: This process is significantly different from the one used in the previous KU CMS.
- Create a Basic Block (see instructions above)
- Be cognizant of the way the Title field works. The Title is an H2 by default. If the content you are adding begins with an H2 header, great. But, if your content does not require a header class or needs a different header class, be sure to uncheck Display Title on your Basic Block configuration page to hide the default H2 Title.
- Create/Edit a Body 1 - General Content section
- Select Add Section > Insert Body Block
- Type the name of your block
- Update Save as state to Draft or Published as needed
- Save
Including Blocks from Another Site
Although this feature was available in the previous KU CMS, it is not available in KU CMS – Sunflower.
Accessibility
All content on KU CMS sites must meet accessibility standards. See Accessibility for information, including guidelines and best practices.